注:此教程仅供本人记录使用。
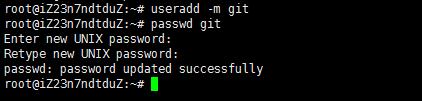
添加用户,以存放项目
# useradd -m git
# passwd git
# (输入密码)
# (再次输入密码)
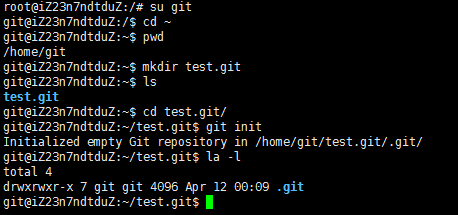
创建本地仓库
# su git
$ cd ~
$ mkdir test.git
$ cd test.git
$ git init
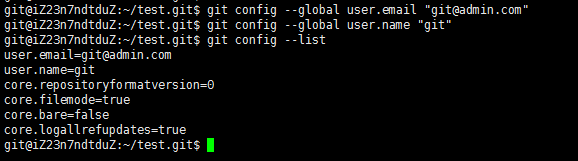
添加git用户名和email
$ git config --global user.email "git@xxx.com"
$ git config --global user.name "git"
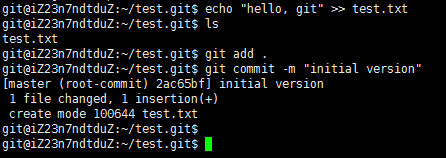
添加文件并提交
$ echo "hello, git" >> test.txt
$ git add .
$ git commit -m "initial version"
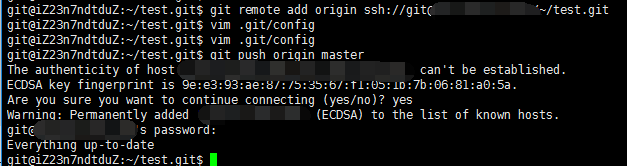
建立远程仓库
$ git remote add origin ssh://git@this.is.your.ip/~/test.git
$ git push origin master
创建另一台机器的ssh-key
(若之前已创建,本条可忽略)
$ ssh-keygen -t rsa -C "dzkang@hotmail.com"
这一步生成了idrsa和idrsa.pub两个文件(windows在用户文件夹找),将idrsa.pub上传到git用户的.ssh目录下,并添加如authorizedkeys文件内
$ cat id_rsa.pub >> authorized_keys

使用另一台机器克隆项目
(windows下打开git bash)
$ git clone ssh://git@xx.xx.xx.xx/~/test.git
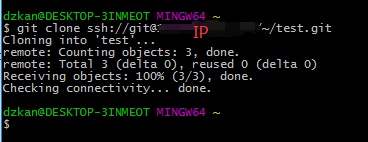
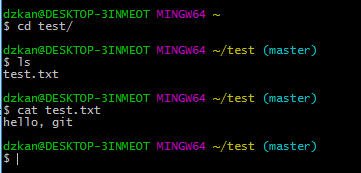
可看到git已经将该项目克隆到本地test文件夹
配置一下本机的git用户名和email
$ git config --global user.email "dzkang@xxx.com"
$ git config --global user.name "dzkang"
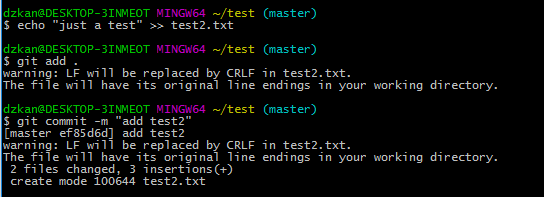
添加新文件并提交
$ echo "just a test" >> test2.txt
$ git add .
$ git commit -m "add test2"
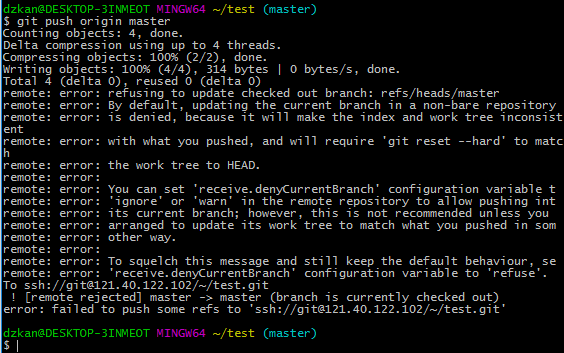
PUSH到远程仓库
$ git push origin master
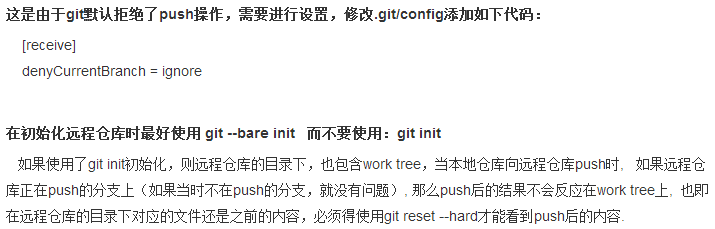
出现报错信息,被远程仓库拒绝:
修改远程仓库 .git/config配置
$ git config receive.denyCurrentBranch ignore
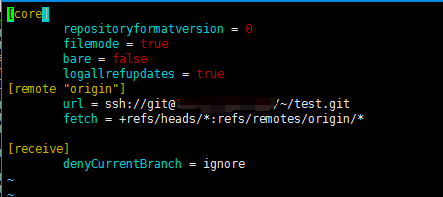
这样,每次push成功,在远程服务器输入 git reset –hard能看到最新内容。
引用网上一段话: